Website Installation

Contents
To install the web application, you must determine where to store the web site on your web server. By convention, web sites are usually installed in the C:\Inetpub directory on the web server itself. In our example, we create a new folder named iService at this location.
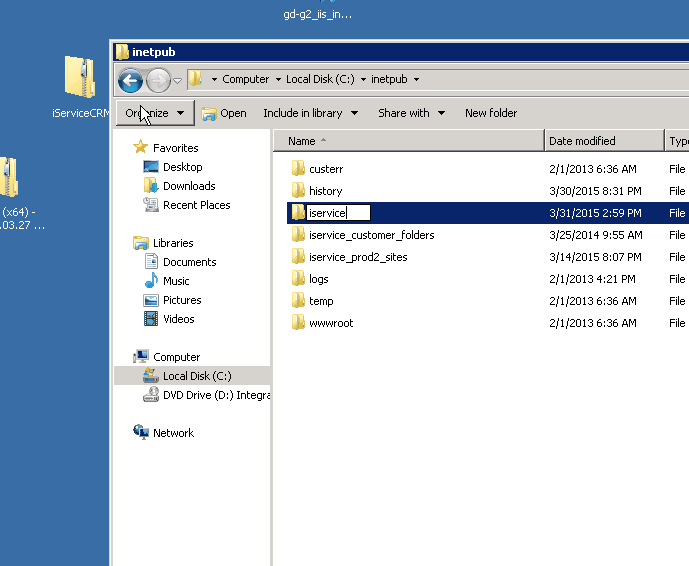
Once this folder has been created, copy all of the files within the Website directory of our release package into this new folder, shown here:

While leaving the C:\Inetpub\iService window open, click Back in the Website folder window and open up the For New Installation folder. Copy the web.config file from this directory into the C:\Inetpub\iService folder.
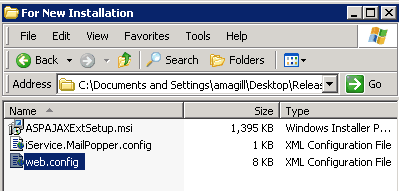
You can close these windows now.
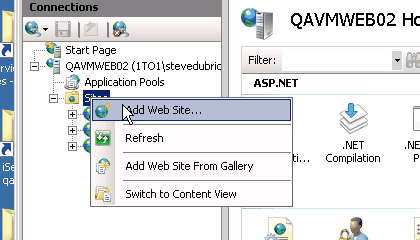
Next, open up the Internet Information Services (IIS) Manager. This can be found in the Administrative tools folder usually located in the Control Panels or All Applications links in the Start Menu.
Once this tool is open, right click on the Sites folder and select Add Web Site…from the popup menu.
Fill in the Site Name with the friendly name you’d like it to appear as in IIS. The physical path should match the location that you just placed the iService web site files (in our example, c:\inetpub\iService). Depending on your desired configuration the Bindings section can be modified to your requirements, but the most straightforward setup is to have a normal http connection on port 80 bind to a host name across all unassigned IP addresses for the server (this is shown in the example screenshot).
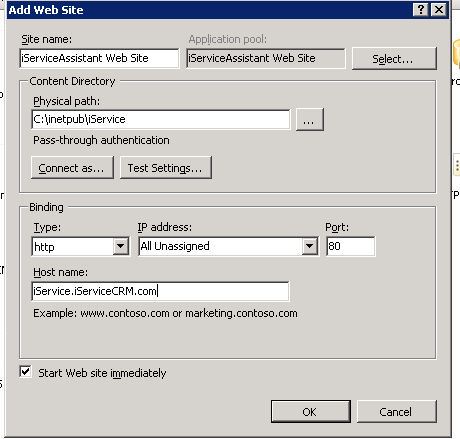
If SSL is required for connections, https should be selected with port 443. Though out of scope of this guide, you will additionally need to import a signed certificate and assign it to the binding, as well as set up http to https redirection (such as by using URL rewriting) if required.
Next click on Application Settings
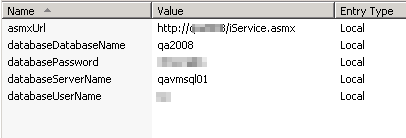
And edit the values appropriately.
asmxUrl is the location of the iService web services, and if installing the web services on the same web server as the web site, would be http://ServerURL/iService.asmx. In our example above, it would be http://iService.iServiceCRM.com/iService.asmx.
databaseDatabaseName is the name of the iService master database
databaseServerName is the name of the SQL server instance where iService databases reside
databaseUserName and databasePassword are the connection properties for the SQL login that has appropriate access to the iService master database.
Next click on the Application Pool option on the left side of IIS:

You should see a new application with the friendly name you gave the web site in the previous step. Right click this and choose Basic Settings.
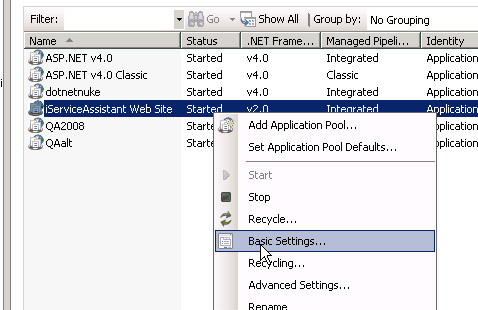
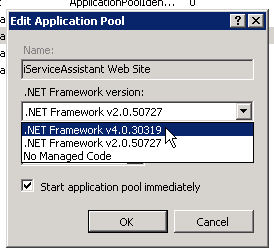
iService uses .NET 4.x, so change the Framework version to the 4.x version, and click OK.
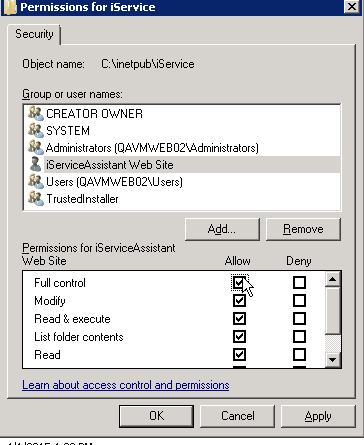
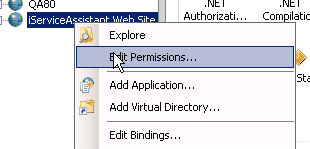
Now we need to be sure that the new Application Pool has the proper permissions to access the folder you made in the earlier step. Right click on the web site in IIS and choose Edit Permissions.
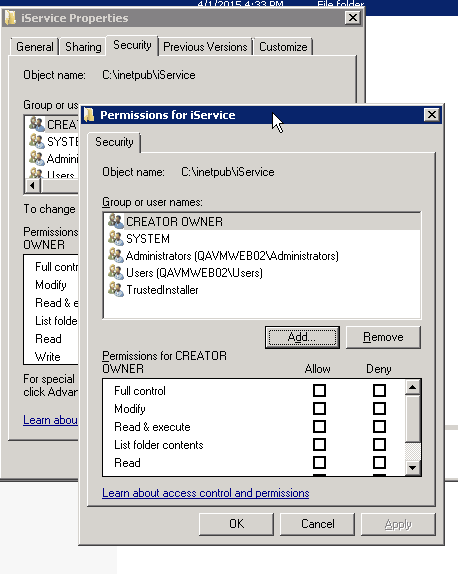
Choose the Security tab, and press the Edit.. button. In the new window click Add.
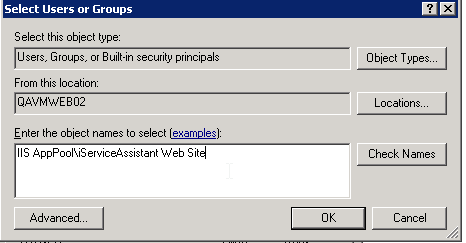
In the text area, type IIS AppPool\<appname> where <appname> is the friendly name you gave the website in the earlier step. In our example, it would be IIS AppPool\iServiceAssistant Web Site
Press OK. Give the app pool Full Control permissions of the folder and Press OK through both windows.