Upgrading to iService 7.5 and Prior

Contents
iService 7.5 IMPORTANT NOTE:
There are rare conditions where interactions may be resolved while they are still assigned to an agent. For example, you may have an iService alert that resolves old interactions without him assigning them first from the agent. Prior to version 7.5, these scenarios were not noticeable but beginning with 7.5 these old interactions may appear in the agent's queue. To correct the situation you need to run a script against your database to remove the agent assignment.
--To check if there are ‘bad’ interactions:
select *
from dbo.Interactions as i inner join dbo.InteractionTypes as it on it.id = i.type inner join dbo.Status as s on s.id = i.statusID
where assignedToContactID IS NOT NULL
and s.name not in ('Queued','Pending','SentWaitingReply')
and it.name in ('Customer Email','Private Email','Ask A Question','Ticket')
--If there are any, use this to fix them:
UPDATE i
SET i.assignedtoContactID = NULL
from Interactions as i inner join InteractionTypes as it on it.id = i.type inner join Status as s on s.id = i.statusID
where assignedToContactID IS NOT NULL
and s.name not in ('Queued','Pending','SentWaitingReply')
and it.name in ('Customer Email','Private Email','Ask A Question','Ticket')
Windows Server 2008R2 IMPORTANT NOTE:
Versions 6.0 and later of iService require .NET 4. You should verify that your server running the mailpopper service has .NET 4 installed by viewing the Add/Remove Programs tab. If you are updating an existing site to .NET 4, you must change the App Pool used by the iService website to .NET 4.
On Windows 2008R2 servers we’ve encountered this error in IIS after installing .NET 4.0 and switching the app pool to use .NET 4.0:
Handler "PageHandlerFactory-Integrated" has a bad module "ManagedPipelineHandler" in its module list.
This is a bug in the .NET installation, and if you get this error the easiest way to fix it is to run this at the command prompt:
%windir%\Microsoft.NET\Framework\v4.0.21006\aspnet_regiis.exe -i
As updates become available to the core iService code, you will be provided with an installation folder with a similar layout to the original installation. For updates, you can ignore the For New Installation folder.
As with any database intensive application, it is highly recommended that you update your iService installation during a maintenance window when no agent or customer is logged into the web site. This can be most easily accomplished by stopping the iService.Mailpopper service on the Applications and Services server and by stopping the web site on the Web Server.
After shutting down access to the site and database, perform a database backup of your master database and the tenant databases on your SQL Server. The master database will have the name chosen during your initial installation (iSA4 if you used the default) and each tenant will have a database name in the format of [master].[tenant] (for the example in these documents, the tenant database name would be iSA4.malcomdev).
Making a backup folder of the web site directory (c:\Inetpub\iService on the web server) and the Applications folder (C:\Program Files\1to1Service\iService on the Applications and Services server) will aid in recovery in the event that the upgrade fails for any reason; this is less important that the databases, though, as these can also be restored from an earlier installation package – the data already in your databases cannot.
After creating the database backup files, you are ready to perform the update.
If you are updating the Mail Popper Services on a 64-bit server, you will need to take the following additional steps (these are not required for a 32-bit installation).
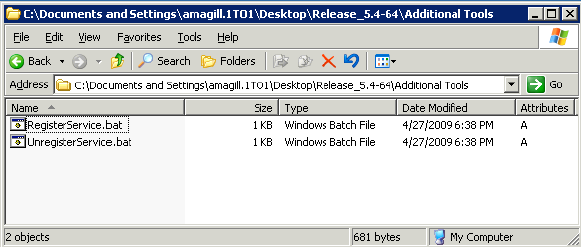
In the release archive, open the “Additional Tools” folder and locate the UnregisterService.bat file.
iService6 Note: If you are updating from iService5 to iService6, be sure to use the unregister batch file that came with the iService file installation files. you can also get it from the iService software download site.
Double click on this file, and you should see a screen similar to the following:
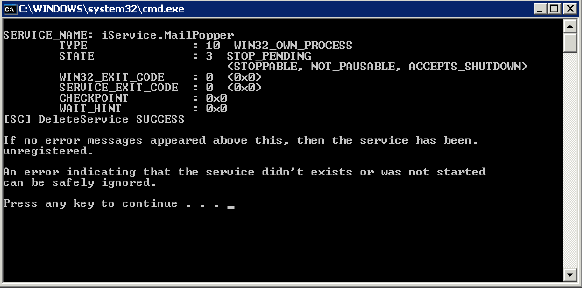
The information displayed above [SC] DeleteServices SUCCESS is caused by a command to first shutdown the service. If you have already stopped the service, you will instead see a message stating that the service is not running – this is fine and does not indicate an error.
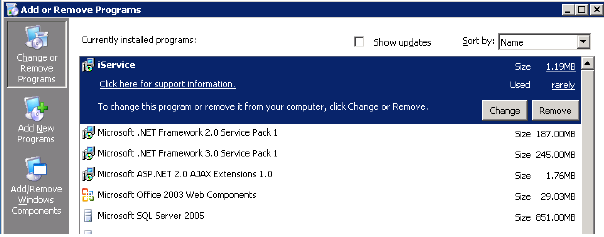
Now, for both 32-bit and 64-bit installations, go to the “Add/Remove Programs” item in your Control Panels folder. Locate the iService application and click on the Remove button.
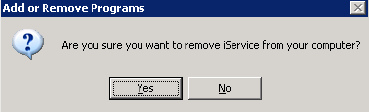
Click on Yes to confirm that you wish to remove the old code. Follow any instructions given until you are returned to the Add/Remove Programs window. Close this window.
After removing the old version, double click on the iService.MailPopper.Setup.msi or iService.MailPopper.Setup64.msi package in the new release folder provided and follow the installation instructions. Ensure that you choose the same installation directory as the previous installation, or you will have to copy/remake the mailpopper.config file as per the instructions in the initial installation section.
Note that if you fail to uninstall the iService Applications and Services before installation, you will be given the following error:

If this occurs, please go back to the Add/Remove Applications Control Panel and try again.
If you have copied the Desktop Application to another workstation for use by administrators, make sure that they know a new version is available and they will need to re-copy the application from the server.
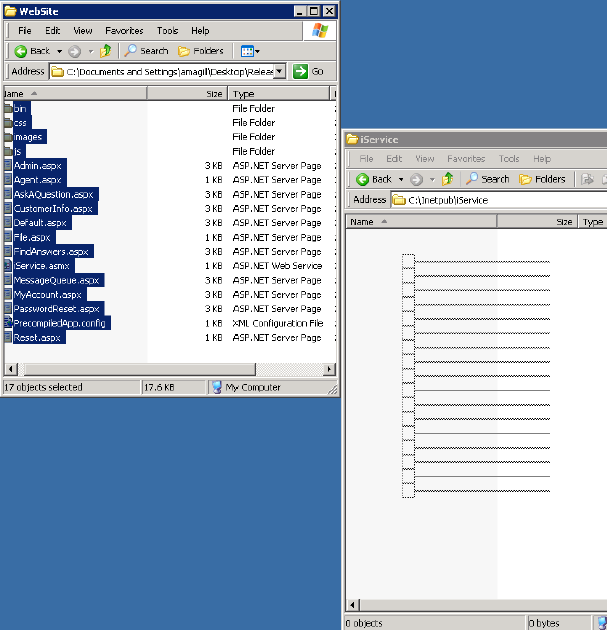
To update the web site, on your web server, copy all of the files from the new releases Website folder into the installation folder for the iService website (C:\Inetpub\iService). Click Yes To All when prompted about overwriting files.
To update the databases themselves, run the new Desktop Application. Verify that the logon information in the Master tab is correct and click on the Update tab.
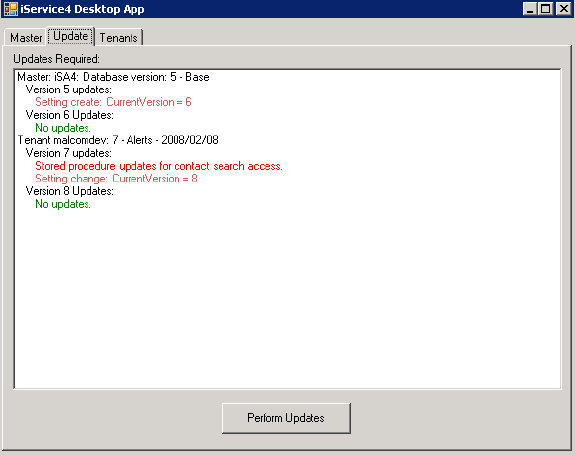
You will see a display similar to this, though your tenants and number of tenants may differ. Lines in any color other than Green indicate that database updates are required. Click on the Perform Updates button.
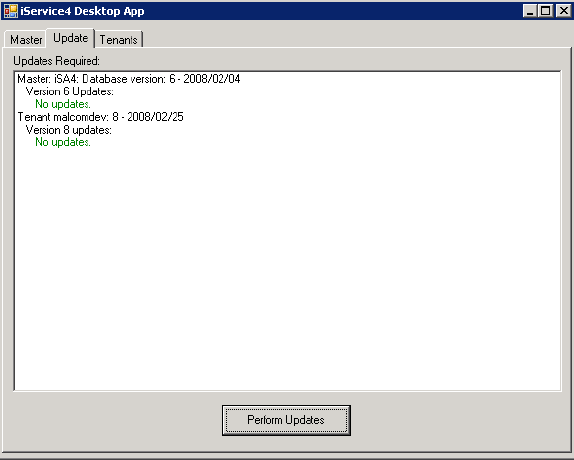
After the update is completed, your display should change to something similar to the following:
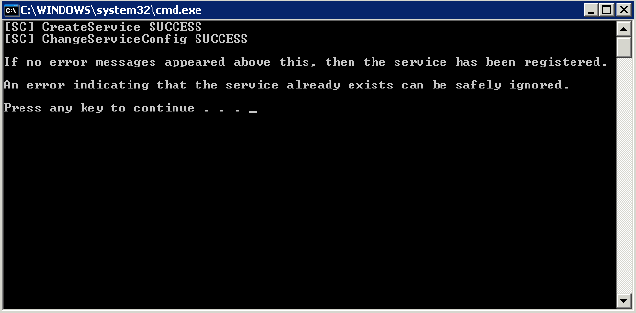
If you are running the updated Mail Popper on a 64-bit server, you will now need to re-register the service using the RegisterService.bat file located in the Additional Tools folder in the 64-bit archive. This step is not required if the mail popper is running on a 32-bit server.
Double click on this file to complete installing the service definition into the registry. You should see the following results:
The Mail Processor/Mail Popper application is now configured and ready for use. You may now restart the mailpopper service and web site to bring the updated Web Application back on-line.
NOTE: Your email will be queued on the mail server until you restart the mail popper service. However, you must manually restart the mail popper service after you complete the update.