Upgrading to iService 7.6 and Later Using Deploy Scripts

Contents
We strongly encourage the use of our automated deploy script to streamline the update process for iService. The following description assumes you are using the deploy scripts to update to version 7.6.
![]() Always backup your iService databases before performing an upgrade.
Always backup your iService databases before performing an upgrade.
Extract the zip contents
Open and copy the entire contents of the release .zip file to the "iservicesetupfiles" sub-folder located in your previous deploy script folder. Generally this is something like c:\deployiservice_manualDBbackup\iservicesetupfiles.

Click to expand
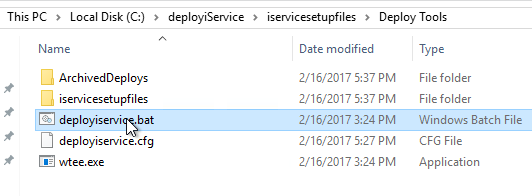
Copy the new .bat file (during update to 7.6 only)
If you are upgrading to v7.6 for the first time, the "Deploy Tools" folder in the zip package includes a new deployiservice.bat file. This new version handles upgrading to iService versions 7.6 and higher. Copy this to your original deployiservice folder, replacing the old .bat file.
![]() It's a good idea to keep a copy of the 7.5 and prior installation batch file in case you need to rollback because of an install issue.
It's a good idea to keep a copy of the 7.5 and prior installation batch file in case you need to rollback because of an install issue.
*Note that this step is not necessary for subsequent upgrades.
Run the deployiservice.bat
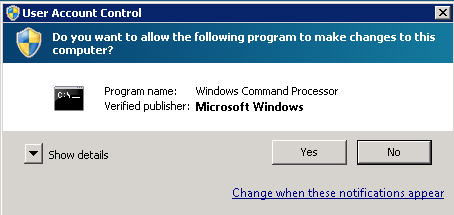
Right click and run the new deployiservice.bat file as Administrator.
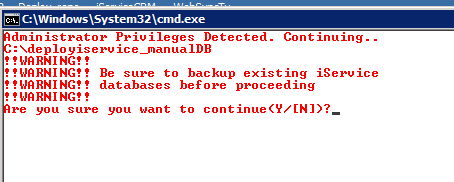
As a safety precaution. You will be reminded to backup your databases before continuing. Press Y and enter to continue.
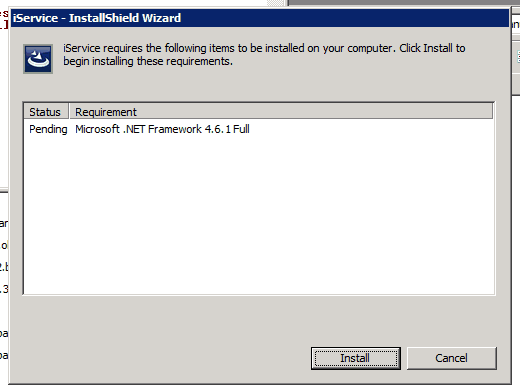
Install .NET 4.6.1 (first install only)
If you are upgrading to v7.6 for the first time and you haven't already installed the latest .NET runtime, you will be prompted to install v4.6.1. Click Install to continue. This may take a while depending on your system.
![]() When you install a new version of the .NET Framework, you will need to reboot your server. Allow the iService installation to finish and then reboot your server.
When you install a new version of the .NET Framework, you will need to reboot your server. Allow the iService installation to finish and then reboot your server.
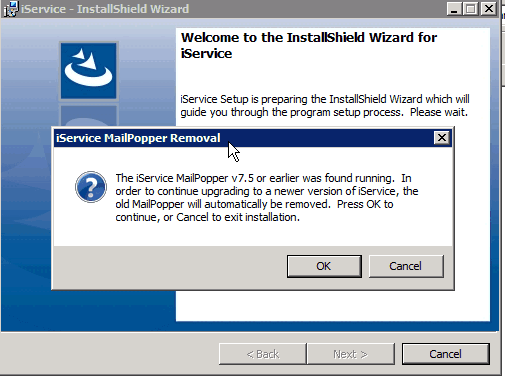
Allow removal of mailpopper service (during update to 7.6 only)
If you are upgrading to v7.6 for the first time, you will be prompted to remove the mailpopper service from the old version. Press OK to continue.
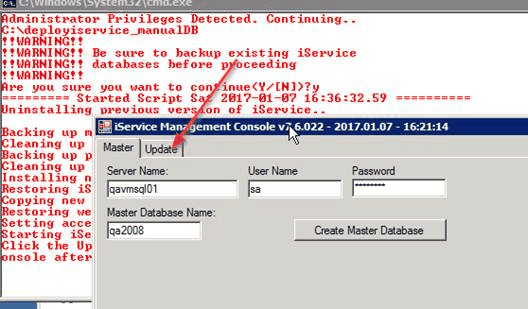
Upgrade database via the management console
Next, the management console will appear, which guides you through the database upgrade process. Press the "Update" tab.
If any database updates are needed, they will be listed in red text. Click the "Perform Updates" button to apply them:
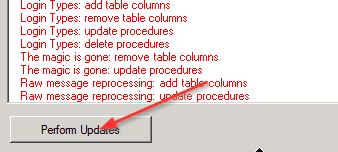
After they are applied, close the Management Console.
Complete upgrade
When the deploy script says "Done. Press any key to continue..", the upgrade is finished and you can close the deploy script window.
![]()